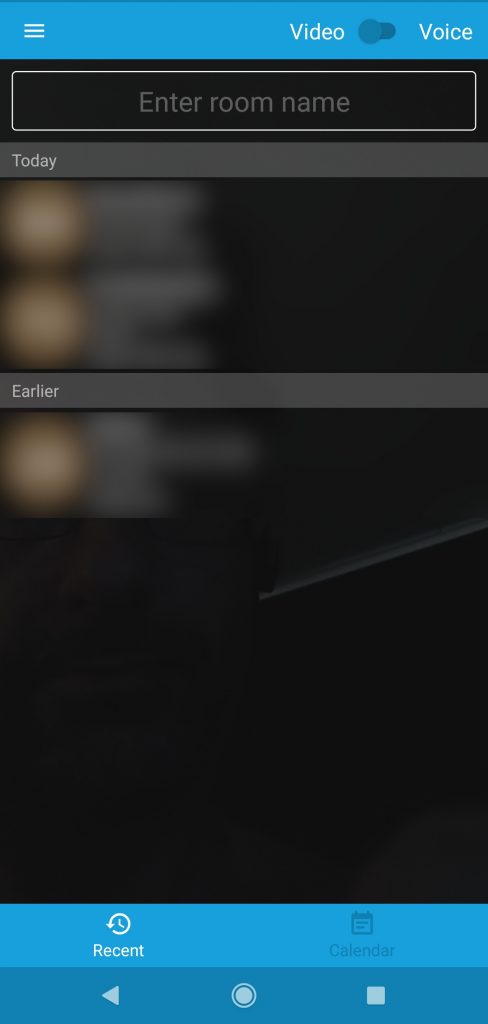
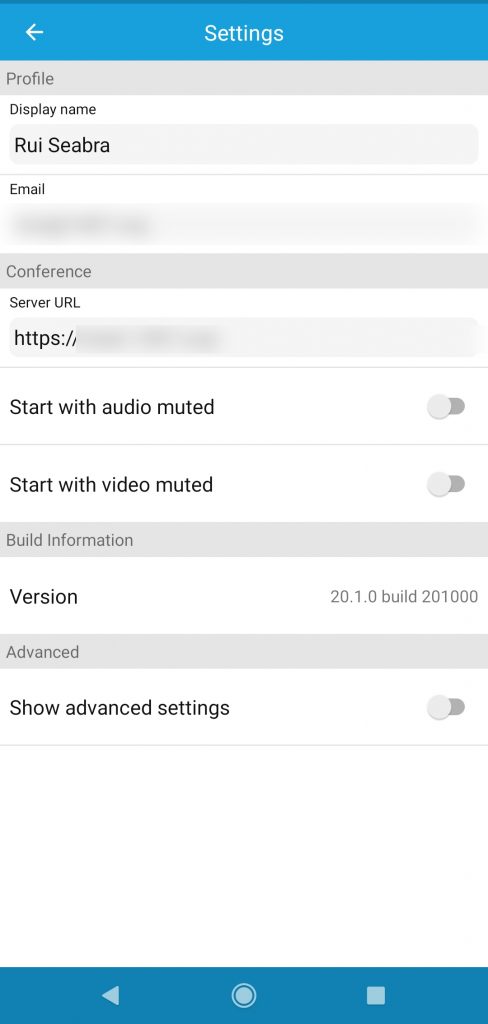
So the best, and quickest, way to get your own Jitsi instance is to follow this instructions:
https://dev.to/noandrea/self-hosted-jitsi-server-with-authentication-ie7
As far as I can tell there is no such easy peasy way to have it running in CentOS, and I won’t be diving into it for the moment although I certainly intend to do so in the future, but I think it’s very much worth it to just build upon those instructions in order to set up (what would seem to me as essential for the free federated communication world) an XMPP instance that already is built-in in your Jitsi server!
- If you only want the video conference part, you only need 443/tcp (https) and 10000:20000/udp and you can skip the rest of this blog entry. You don’t need to enable http as it only redirects into https, and if you don’t plan on allowing remote public ssh you don’t have to enable it either. That’s just there as a helpful reminder in case you just created a virtual machine on some VPS provider and so you don’t get locked out by accident;
- But if you’d like to have your own instant messaging server, you can additionally follow the instructions below in order to expose Jitsi’s integrated XMPP address as well, and your identity will be your.user@your.jitsi.website
So you start by setting up additional permissions you’ll be needing in order to re-use the same Let’s Encrypt certificate managed by certbot:
cd /etc/letsencrypt/
chmod a+rx live live/*
chmod g+rx archive
chgrp -R ssl-cert archive
chmod g+s archive archive/*
chmod g+r archive/*/*key*pem
You’ll also have to change prosody’s certificates in order to use the correct ones, and then restart it:
cd /etc/prosody/certs
ln -sf your.jitsi.website.crt /etc/letsencrypt/live/your.jitsi.website/fullchain.pem
ln -sf your.jitsi.website.key /etc/letsencrypt/live/your.jitsi.website/privkey.pem
systemctl restart prosody
Finally, you’ll need to open prosody’s port in the firewall as well:
ufw allow 5222/tcp
That’s it. Now you have your Jitsi video conference properly integrated with XMPP/Jabber, neat hey?
PS: Oh, a minor but relevant update… use the following ufw rule rather than the correspondent one in the article above to be able to allow multiple UDP streams for the video conference, as TCP and only one UDP port will be a bit painful…
ufw allow 10000:20000/udp


